Eyebrow Gel Made at Home
A half-remembered tip came to mind, maybe from an older relative or something you read online, about putting a glass of water near the radiator. It sounded old-fashioned, almost like a myth. Even so, as the night went on and the dryness got worse, you filled a glass and put it next to the heat. The mood started to change slowly, almost without anyone noticing. Winter usually shows its true colors without making a fuss.
The Science Behind a Glass of Water
It seems unlikely that a simple glass of water could make a room feel warmer without touching the thermostat. After all, water doesn’t make heat. There is no warmth being released into the space. What changes is how your body feels the heat that is already there.
Why dry air makes warm rooms feel colder
A radiator heats the room and takes moisture out of the air at the same time. This dryness is easy to miss at first. It makes your skin itch, your throat scratch, your clothes feel static, or you get small shocks when you touch metal. It’s not as clear how dry air changes how we feel about temperature.
Your body is always giving off and taking in heat from the outside world. When it’s dry, moisture leaves your skin and your breath more quickly. This evaporation takes away heat, which makes the room feel cooler, even though it is technically warm. The heater is on, but the reading on the wall doesn’t match how your body feels.
How Moisture Makes Warmth Feel Real
This is where the glass of water comes in. When you put it near a heat source, it warms up and slowly lets moisture out into the air through evaporation. Even a little bit more humidity can help your skin and lungs hold on to moisture better. The temperature stays the same, but the room starts to feel softer, warmer, and more comfortable.
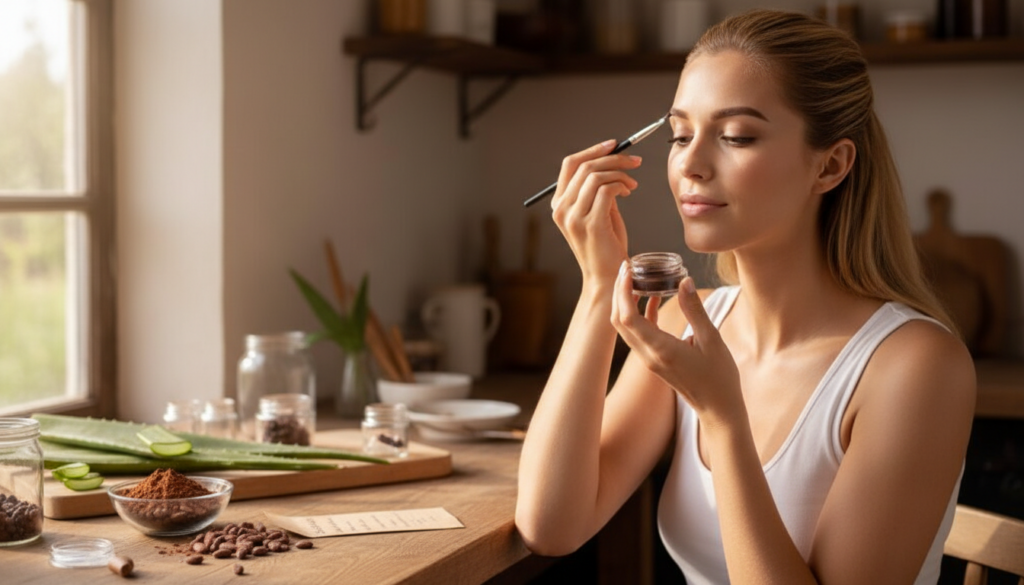
Aloe Vera as a Soft Base for Brow Styling
People have known for a long time that aloe vera is good for soothing skin, even before it became a common product. The gel is light, cool, and flexible when it’s pure. It never gets stiff or sticky. When used on brows, it gives them a little bit of hold while keeping them soft.
Aloe is a good base for homemade brow gel because it gives light to medium control and moisture. Every time you use a high-quality gel with few additives, it helps your brows stay healthy. This turns daily grooming into a care-focused ritual instead of a quick fix.
Natural Brow Tint with Cocoa Powder
The natural brown pigment in cocoa powder gives it warmth and depth. It works best on light to medium-dark brows, and when mixed with aloe, it blends in well. It gives a soft, natural-looking tint instead of a harsh color.
This method gives you complete control. A little bit gives a soft definition, and a little bit more makes the color darker. The result blends together perfectly, with no sharp lines. It’s nice to use something from the kitchen to softly frame your face.
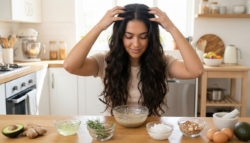
Making a Simple Brow Gel Kit
Making your own brow gel becomes a calm, planned activity. A spoon, a clean jar, and a spoolie all have their own places. The experience feels real and not rushed.
The main formula only needs two things, but you can add more things later if you want. Its charm comes from how simple it is.
- Pure aloe vera gel: This is the base. It gives natural hold, moisture, and smooth application.
- Cocoa powder that isn’t sweet: Adds a soft color to make natural brow color look better.
- A small glass jar or container: Keeps the finished mixture safe
- A clean spoolie or angled brush: Helps you shape and apply your brows evenly.
- Mini spoon or mixing stick: Used to mix things together smoothly
Slowly and smoothly mixing the gel
Put two teaspoons of aloe vera gel in a clean jar. Add about a quarter teaspoon of cocoa powder and stir it in gently, breaking up any lumps. The clear gel slowly changes into a smooth, brown color that looks like dirt.
Try the color on the back of your hand and let it dry for a short time. You can change the amount of cocoa for depth and aloe for softness as needed. The final texture should be creamy and easy to brush on. Seal the jar after mixing and let it sit for an hour so everything settles evenly.
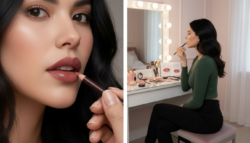
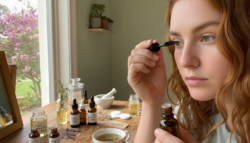
Applying with Care and Accuracy
Using a brow gel you made yourself makes you go slower. Start with brows that are clean and dry. Lightly dip a spoolie into the gel and take off any extra before using. Use short, feathered strokes that follow the natural growth of your brows to brush through them.
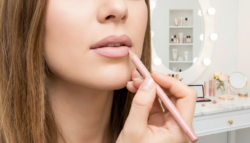
Instead of drawing, shape the brow from the inside out. Let the first layer dry before adding another one, and pay special attention to areas that are thin. If you need to, an angled brush can help you make strokes that look like hair. The finish stays soft and bendable; it never gets hard.
Why it’s important to make simple, natural choices
Making something at home has a quiet meaning. It cuts down on waste, keeps out unnecessary ingredients, and helps you get back in touch with the process of making. Each refill replaces single-use packaging, and each use reinforces the idea that beauty doesn’t have to be complicated.
Natural solutions don’t work for everyone, so it’s important to pay attention to your skin. Part of the process is patch testing and making small changes. In that calm moment, with a brush in hand and cocoa-scented gel nearby, you remember that care can be gentle, useful, and personal. The simplest things can sometimes start big changes.